
Snow in Texas? I know, I was just as surprised! This girl hadn’t ever seen that much snow or temperatures in the negatives. Due to the weather, I had some free time on my hands. Besides resting, spending time with family, cooking, and playing family games, this girl needed to feel a little productive. So, I decided to tackle our master bathroom cabinets.
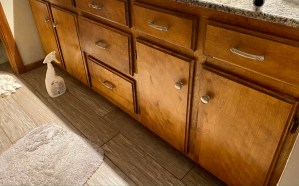
They were the old brown cabinets – you know the ones. I’d just never had the time to spruce them up. Well, now I had the time, so no excuses!
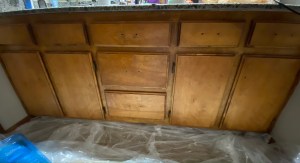
Be sure and use Painters Tape to cover any spots on the drawers you aren’t painting and lay down a plastic drop to protect your flooring. You also need to remove all hardware from the cabinets. I didn’t remove the hinges on the doors. I just painted over these.
First, I used Krud Kutter to clean up the cabinets. I just sprayed it on the cabinets and wiped them down with an old rag. Get ready for years of dirt and gunk to come off! Next, I wiped on Liquid Sandpaper to smooth down any rough spots on the cabinets. I just rubbed this all over the cabinets with another old rag and let it dry. Afterward, I used a Sanding Sponge to get rid of any rough spots that were left and needed a little softening.
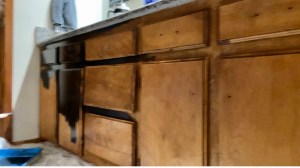
Now comes the fun part – it’s time to paint! You’ll need a paint tray and liner. I used the quart size of General Finishes Lamp Black, Water Based Milk Paint. This stuff is incredible! It reminded me of when I painted a desk with chalk paint. It dried quickly and easily. I used a foam sponge to get it smooth-looking. You could also use a 3/8 inch nap roller. However, I prefer the foam brush. I did two coats (letting the cabinets dry completely in between the two coats) and used about 3/4 of the quart.
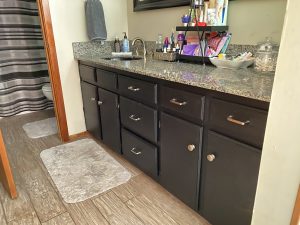
To prevent chipping and give my cabinets a little sheen, I brushed over my newly painted cabinets with General Finishes Water Based High-Performance Flat Top Coat. This goes on milky and thin. I also used a foam brush to apply this. Let it dry. I decided to add new hardware to modernize the look a little more. Viola, I’m done!
I’m in love with the final look! My next project? I want to paint our guest bathroom cabinets gray. I will definitely use the same products because of the experience I had with them on this project.
Here are some BEFORE and AFTER pictures of my project! Of course, I had to add a few new little knick-knacks on our cabinets to go with the new look. I’ll put those pictures and links below.


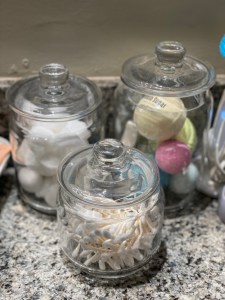

Added knick-knacks on the cabinets:
I bought this for my mouthwash and love it!
This holds so much of my makeup/lotions and really cleaned up the look of my cabinet.
These links are affiliate links. I make a commission if you click through and purchase. Happy painting, friends!
